The LTO inspection—also known as the Motor Vehicle Inspection System (MVIS)—is a program designed to check if a vehicle is roadworthy, safe, and compliant with emission standards. The inspection produces an MVIR (Motor Vehicle Inspection Report)—a document required during registration renewals, transfer of ownership, change plates or vehicle classification, or for insurance or loan applications. If you pass, your vehicle is certified to be in a safe condition, roadworthy, and emission-compliant, otherwise, you’ll need to fix the issues, pay fees, and go through the hassle of a re-inspection.
For many car and motorcycle owners, the LTO inspection can be quite stressful. The good news: With proper preparation, you can pass the LTO MVIS and emission test on your first try. Here are some practical tips to help you do so.
Pre-Inspection Checklist: Documents to Prepare
Before heading to the Land Transportation Office (LTO) or a Private Motor Vehicle Inspection Center (PMVIC), the first thing you need to do is to prepare the paperwork. Missing or expired documents are one of the fastest ways to get delayed. To avoid that, you will need to ensure that you have:
- Original and 1 photocopy of Certificate of Registration (CR) and Official Receipt (OR)
- Valid government-issued ID (driver’s license, passport, postal ID, etc.)
- PNP-HPG Clearance (if transferring ownership)
Vehicle Condition Checklist: What Inspectors Look For
You also need to know what to check on your car or motorcycle before the LTO inspection, so you can fix them beforehand. These things include:
- License plates: Clean, visible, properly mounted (no covers or stickers blocking).
- Lights: All must work (headlights, brake lights, turn signals, hazard lights, reverse lights).
- Tires: At least 1.6mm tread depth, no bulges, cracks, or uneven wear; correct pressure.
- Windshield and mirrors: Free from cracks, chips, or major damage.
- Horn and wipers: Must function properly.
- Exhaust system: No excessive smoke or loud noise.
- Seatbelts and safety features: Must be intact and functional.
- Brakes and steering: Smooth operation, no leaks, noises, or excessive play.
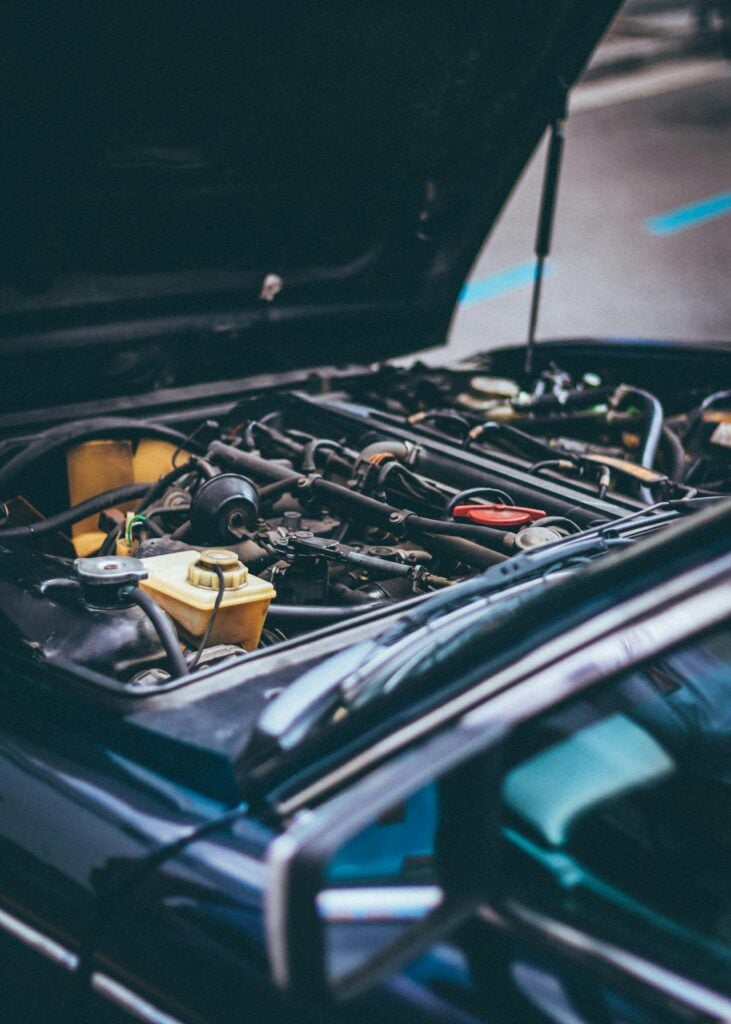
- Engine and fluids: Adequate oil, coolant, brake fluid; no leaks.
Simple Maintenance to Boost Your Chances of Passing
You can also take the time to do these small but effective steps to prevent a failed emission test:
A few days earlier
- Complete basic service & tune-up
- Oil change, filter changes (fuel, air), spark plugs, check fuel cap seal, ignition parts.
- Check all fluids (brake, coolant, transmission).
- Check tires and alignment
- Inspect tread depth; check for uneven wear or bulges.
- Adjust alignment / toe / camber at a shop.
- Inspect exhaust/leaks
- Look under your vehicle for leaks (oil, exhaust, coolant).
- Repair or replace damaged exhaust items.
- Check lights & electricals
- Replace bulbs; clean lenses; align headlights.
- Test horn, wipers, interior lights.
- Test suspension
- Bounce test on each corner.
- Replace worn shocks, check bushings and mounts.
- Clean vehicle & documents
- Clean license plates, windshield, mirrors.
- Ensure CR, OR, valid ID, etc., are all present and current.
- Budget for possible repairs
- Be ready with cash or parts in case something fails.
On Inspection Day
- Arrive earlier than your appointment or the opening hour.
- Ensure proper tire pressure and fuel level––not full but enough.
- Have OR / CR / ID on hand and accessible.
- If possible, drive a route for about 15-20 minutes to warm the engine, exhaust, and catalytic converter.
- Be ready to show engine & chassis numbers.
What Happens During the LTO MVIS/Emission Test
When you arrive at the authorized inspection center, here’s what you can will need to do:
Step 1. Submit documents – CR, OR, ID, and other required papers.
Step 2. Pay inspection fees – Based on your vehicle type and weight.
Step 3. Vehicle testing – Includes emission test, brake test, suspension test, sideslip test, headlight alignment, and noise level check.
Step 4. Get inspection results – Pass = MVIR issued. Fail = report with reasons for rejection (you’ll need to repair and retest).
Fees and Charges (As of Latest Update)
You will also need to have enough cash to pay for the inspection fees. These fees may vary, but you can prepare a close approximate based on this list:
- Private vehicles: ₱600
- Motorcycles: ₱500
- PUVs: ₱300
- Reinspection: Free if done within 1 year at the same center
- Smoke emission test: fees are still separately charged in some branches: ₱40–₱75 depending on vehicle type.
Common Pain Points (and How to Avoid Them)
Now, not every inspection ends positively. Some of the most common reasons for failing the inspection include:
- Failing for small issues: Burnt-out bulbs, underinflated tires, or dirty plates can lead to automatic failure. Double-check these simple items first.
- Delays from missing documents: Keep CR, OR, and ID in a folder. Make photocopies ahead of time.
- Last-minute rush: Don’t wait until your renewal deadline. Schedule inspection at least 2–4 weeks before.
- Unexpected repair costs: Budget for possible fixes: bulbs (₱150–₱500), tires (₱2,000+), brake pads (₱1,500–₱3,000).
- Scams from “fixers”: Only transact with LTO-accredited centers.
Practical Tips for a Hassle-Free LTO Inspection
To avoid any problems and ensure that the inspection will go through smoothly, make sure to keep these things in mind:
- Book your inspection early to avoid long queues.
- Keep your vehicle clean inside and out; inspectors can spot issues better on a clean car.
- Don’t just prepare before inspection—do regular maintenance year-round.
- Familiarize yourself with LTO branch rules; some require online appointments.
- Keep your MVIR in a safe place; you’ll need it for registration and insurance.
If you want to increase your chances of passing your LTO MVIS / emission test, make sure that you:
- Understand each test and be aware of what inspectors check for (visual, suspension, emissions, noise, etc.).
- Do maintenance ahead: Fix the likely weak spots: brakes, lights, exhaust, suspension.
- Warm the engine before the test, check fluids and filters to reduce emissions.
- Make sure documents and basic stuff (plates, mirrors, seatbelts) are compliant.
- Prepare a budget for repairs and allow time for a possible re-inspection.
With these steps, you’ll go into the inspection more confident, avoid surprises, and more likely pass on your first try.
Video: What To Do to Pass the MVIS
Going through the LTO MVIS and emission test doesn’t have to be intimidating. You just need to prepare your documents, check your vehicle thoroughly, and do small but effective maintenance steps, and you’ll be able to save yourself from the stress of re-inspection, wasted fees, and registration delays. After all, LTO inspections are not just as a government requirement; it is also an opportunity to keep your car or motorcycle well-maintained, safe, and reliable on the road. To ensure that your vehicle stays safe and LTO-compliant, you may also check out this video below:
For more details on LTO processes, fees, and updates, you may also visit the official LTO website.