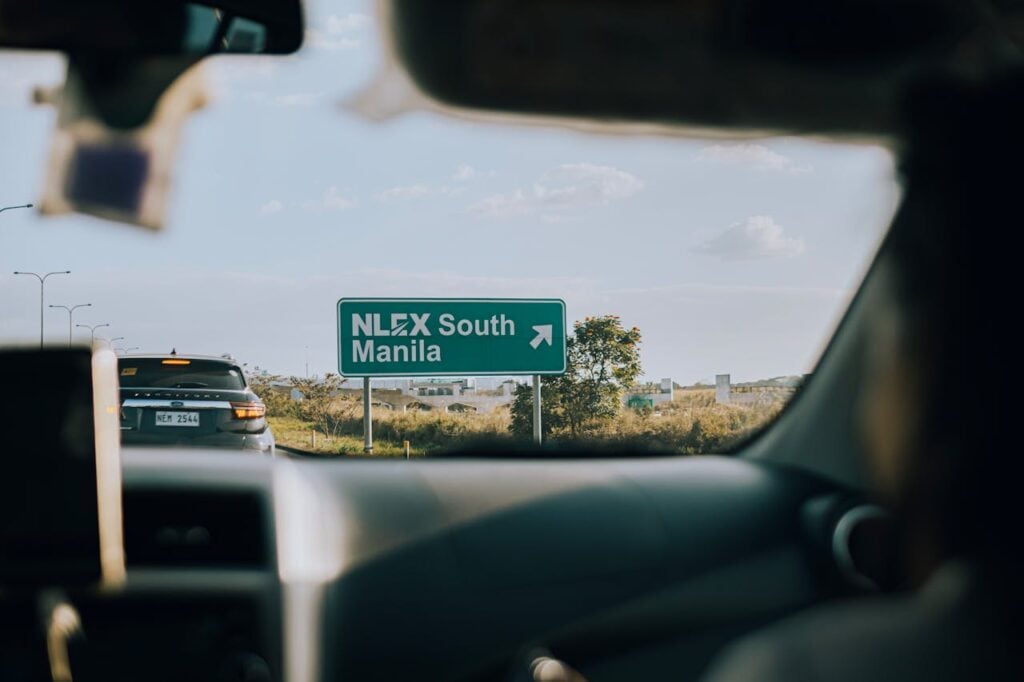
The No-Contact Apprehension Policy (NCAP) uses CCTV cameras and plate recognition systems to catch traffic violators without physically flagging them down. While it aims to improve road safety, many motorists find themselves receiving Notices of Violation (NOVs) they wish to contest—whether due to mistaken identity, technical errors, or valid emergencies.
If you believe you were wrongly cited, this guide explains how to contest or appeal an NCAP violation through the MMDA or concerned local government units (LGUs).
Why Contest an NCAP Violation?
Failing to address a Notice of Violation (NOV) can lead to bigger problems. If left unpaid, it can:
- Place your vehicle on LTO’s registration hold, preventing renewal.
- Accrue surcharges and penalties.
- Lead to civil or small-claims cases.
- Affect your car’s resale value.
Who can Contest an NCAP Violation?
Under the NCAP rules, the one who can contest or appeal a Notice of Violation (NOV) depends on who the violation is issued to:
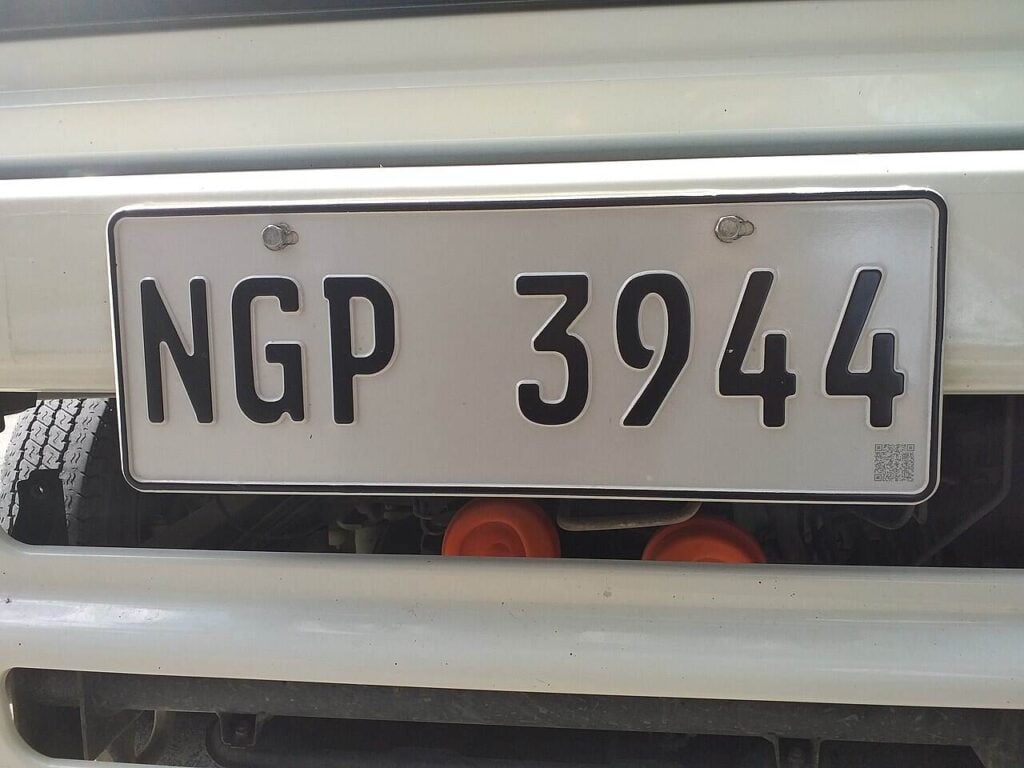
- Registered Owner (RO): Since NCAP citations are tied to the plate number, the registered owner of the vehicle (as reflected in the LTO Certificate of Registration) is the primary party who must file the contest.
- Actual Driver: If someone else was driving, the registered owner can file a Driver’s Identification (notarized) to point to the real driver. The adjudication board may then summon that driver to explain.
- Corporation or Company Vehicles: For vehicles under a corporation, the company must issue a board resolution identifying the employee/driver responsible. The corporation may later seek reimbursement from that driver.
- Authorized Representative: A person with a notarized Special Power of Attorney (SPA) can contest on behalf of the registered owner (common if the RO is abroad or unavailable).
Note: Only the registered owner (or their authorized representative) can initiate the appeal, since NCAP links the violation directly to the vehicle registration.
Requirements
Prepare the following documents for uploading or submission:
- Notice of Violation (NOV) or citation ticket
- LTO-issued Certificate of Registration (CR)
- LTO-issued Official Receipt (OR)
- Valid Driver’s License
- Other supporting evidence (e.g., dash-cam footage, sworn statements, proof of sale, or emergency documents)
How to File an NCAP Appeal with the MMDA
You have two main options: filing online or in person.
Online (E-Contest)
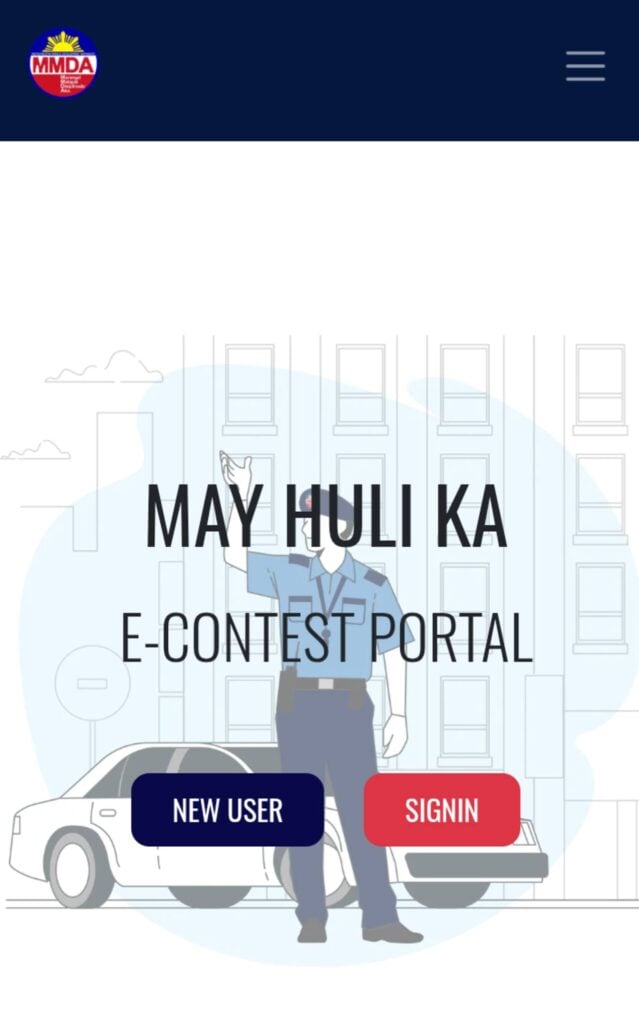
Step 1. Sign up for a new account or log into your existing account to access the official NCAP May Huli Ka e-contest portal: https://econtest.mmda.gov.ph/
Step 2. Exclusive to NCAP tickets issued by the MMDA.
Step 3. Submit up to five tickets per complaint form.
Step 4. Upload the required documents (see list above).
Step 5. Be truthful—submitting false information or spurious documents may lead to:
- ₱6,000 fine for falsified documents.
- Possible perjury charges.
- Permanent disqualification from the system.
In Person
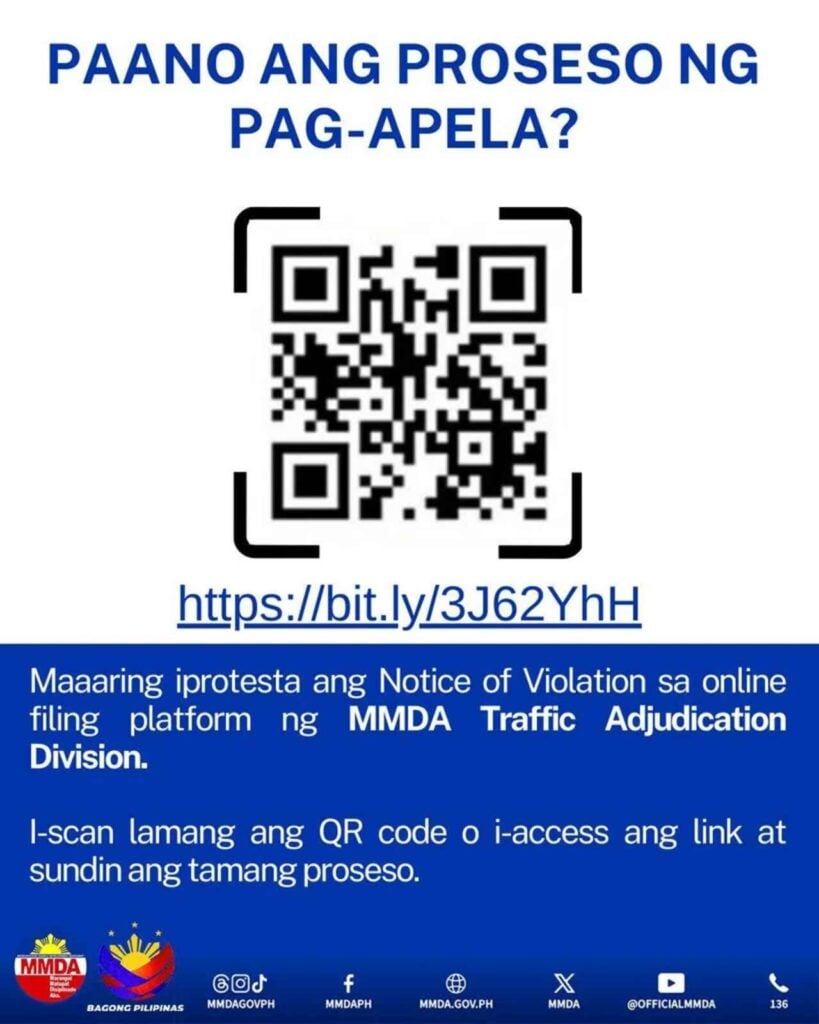
Step 1. File your appeal at the MMDA Traffic Adjudication Division (TAD):
- Location: MMDA Head Office, Julia Vargas Ave. corner Molave St., Brgy. Ugong, Pasig City
- Office hours: Monday to Friday, 7:00 a.m. – 4:00 p.m.
Step 2. You may also be required to present original or certified true copies of your documents at the TAD, 11th Floor, MMDA New Building, Pasig City.
Grounds Commonly Accepted for Dismissal
Your appeal is stronger if it falls under any of these categories:
- Wrong plate number or mistaken identity – provide clear photos or affidavits.
- Sold or stolen vehicle – submit notarized deed of sale or PNP theft record.
- Emergency situations – provide medical or dispatch records.
- Obscured signs or defective traffic lights – submit geo-tagged photos or witness affidavits.
- Technical errors – calibration lapses, software glitches, or improper chain of custody.
- Force majeure – e.g., floods or natural disasters documented by PAGASA bulletins.
Contesting NCAP Violations in LGUs
Different cities have their own procedures and timelines. Always check the issuing LGU before filing.
- Manila: File a notarized complaint within 10 days at the Manila Traffic Adjudication Board (MTAB).
- Parañaque: File a notarized complaint within 5 days at the Parañaque Traffic Adjudication Board (PTAB).
- Quezon City: File a notarized protest form within 10 days at the Quezon City Traffic Adjudication Board (QCTAB).
- Valenzuela: File within 5 days at the Valenzuela City Traffic Adjudication Committee (VCTVAC).
Note: Forms are usually downloadable under the FAQs section of the city’s NCAP website. Always attach notarized forms and supporting proof (e.g., emergency evidence).
Appeal Routes if Denied
If your initial protest is rejected, you can still appeal:
- City/Mayor’s Office: File within 15 days using a Memorandum of Appeal.
- Sanggunian / City Council: Some cities allow a further appeal.
- Regional Trial Court (RTC): File within 30 days via Petition for Certiorari or Appeal under Rule 43.
- Court of Appeals → Supreme Court: File as provided under the Rules of Court, typically for questions of law.
Note: Paying fines “under protest” can help lift an LTO hold faster while keeping your right to appeal intact.
Consequences of Ignoring an NOV
If you don’t contest or pay, you may face:
- LTO registration alarm (no renewal until cleared).
- Surcharges of up to 5% per month.
- Collection cases filed by LGUs.
- Enforcement through a writ of execution.
Preventive and Practical Tips
Naturally, as in any case, prevention is always better than cure. Make sure to avoid any NCAP violation citation by following these tips:
- Keep your OR/CR details updated with the LTO.
- Install a dash-cam with GPS and timestamp.
- Document traffic conditions if signs or lights are faulty.
- Regularly check LGU portals for pending violations.
- When buying a used vehicle, request an LTO clearance of no apprehension and an LGU clearance.
Frequently Asked Questions (FAQs)
For your reference, here are some common questions and answers regarding filing appeals concerning NCAP violations:
1. Is NCAP still suspended nationwide?
The Supreme Court’s TRO (2022) technically remains, but some LGUs have re-implemented NCAP under revised ordinances. Always confirm with the issuing city. The MMDA NCAP has been relaunched and a new website, May Huli Ka 2.0 has been created for checking citations under NCAP.
2. Who must appear at hearings?
The registered owner of the vehicle. If another driver was responsible, submit a notarized Driver’s Identification.
3. Will contesting stop surcharges?
Yes, if filed within the allowed period. Late appeals may still be entertained, but penalties may continue to add up.
4. Can I protest after paying?
No. Once you pay without “under protest” annotation, the case is closed.
Video: Understanding Relaunched NCAP
The relaunched NCAP essentially operates the same, though the MMDA and LTO has worked to address the issues that led to its suspension in 2022. Contesting an NCAP violation can now be done either online via the MMDA E-Contest system or directly at the concerned LGU. Before filing a protest, be sure that you understand how it works and how you got flagged for violations. For more information, you may want to check out this video:
Need More Help?
For questions, concerns, or verification, you may reach out to:
MMDA NCAP Office
- Contact Number: +632 8898 4200 loc. 1084
- Email: noncontact@mmda.gov.ph / ncap2@mmda.gov.ph
- MMDA Head Office: Julia Vargas Ave. cor. Molave St., Pasig City
- MMDA Hotline: 136